If starting a podcast is on your 2022 to-do list, you’re not alone.
And if starting said-podcast feels like a mammoth task that you’ll never be able to achieve, you’re also not alone.
But you are in the right place. Because in the next 3,500-ish words, you’ll learn how to take your wildest podcast dreams, make them even shinier and snazzier than they currently are, AND turn them into a reality – without an ounce of stress.
Getting prepped: the logistics of launching your podcast
This is arguably the most important step in the starting-a-podcast process – because if you jump straight into recording and hitting publishing without a fear in the world, you’re not setting yourself up for success.
Building strong foundations is the secret to launching a podcast that actually works – and that doesn’t take up all of your time. Because let’s face it, we already don’t have enough hours in the day, right?!
So let’s get those foundations built, stat.
Your strategy
Starting a podcast has to come from a place of strategy. If you’re launching a podcast just because everyone else is, just don’t. Because a) your audience will know that your heart isn’t truly in it, and b) it’ll end up being another chore on your list that you resent doing.
Whenever we work with clients who have an idea for a podcast, we take things back a step and ask them why. Why do you want to start a podcast? Why will it help your business? Why do you want to open up another marketing channel?
Here are some questions you need to ask yourself before you dive straight into the doing:
- What is the purpose of your podcast? Is it to generate leads? Build relationships? Position yourself as the go-to coach in your niche? Tell stories? Feature clients?
- Who is your absolute dream listener? This might be identical to your ideal client, or it might be slightly different. But it’s important to get clear on who you want to listen to your podcast so that you can talk directly to them.
- What will you be talking about? It’s all very well wanting to publish an episode a week, but what will you *actually* be talking about each week? This is where you need to do a big brain-dump of every topic you could talk about, every guest you’d like to interview, every launch you need to promote. Try to organise your topics into categories, too – little buckets of related topics that you can map out onto a content calendar before you get started.
Once you’ve got clear, concrete answers to all of these questions, you’re ready to start the next stage of prep… But if you can’t come up with decent answers to these questions – PAUSE. Go back, figure that strategy stuff out, and then come back here when you’ve got that clear.
Spend some $$$ (but not loads)
Now that you’re clear on what you want to create, it’s time to go on a little mini-shopping spree.
But, let’s clear something up right off the bat:
YOU 👏 DON’T 👏 NEED 👏 TO 👏 INVEST 👏 THOUSANDS 👏 TO 👏 START 👏 A 👏 PODCAST
You could, sure. But you don’t need to.
You could record audio on your iPhone, edit using free software, listen back using your AirPods, and produce a perfectly adequate podcast. It’s not the end of the world if you invest in nothing, because what really matters is engaging your audience with what you’re saying, not which fancy mic you’re recording it on.
BUT, high-quality audio does matter if you’re serious about podcasting.
If you want to purchase something that will help you to create a podcast that sounds freakin’ awesome, focus your dollar on the two fundamentals: a microphone and a set of headphones.
Choose a podcasting microphone
You don’t need an all-singing, all-dancing audio setup. If you have one, great. But if you don’t, there are a few plug-and-play microphone options that’ll do the job just fine.
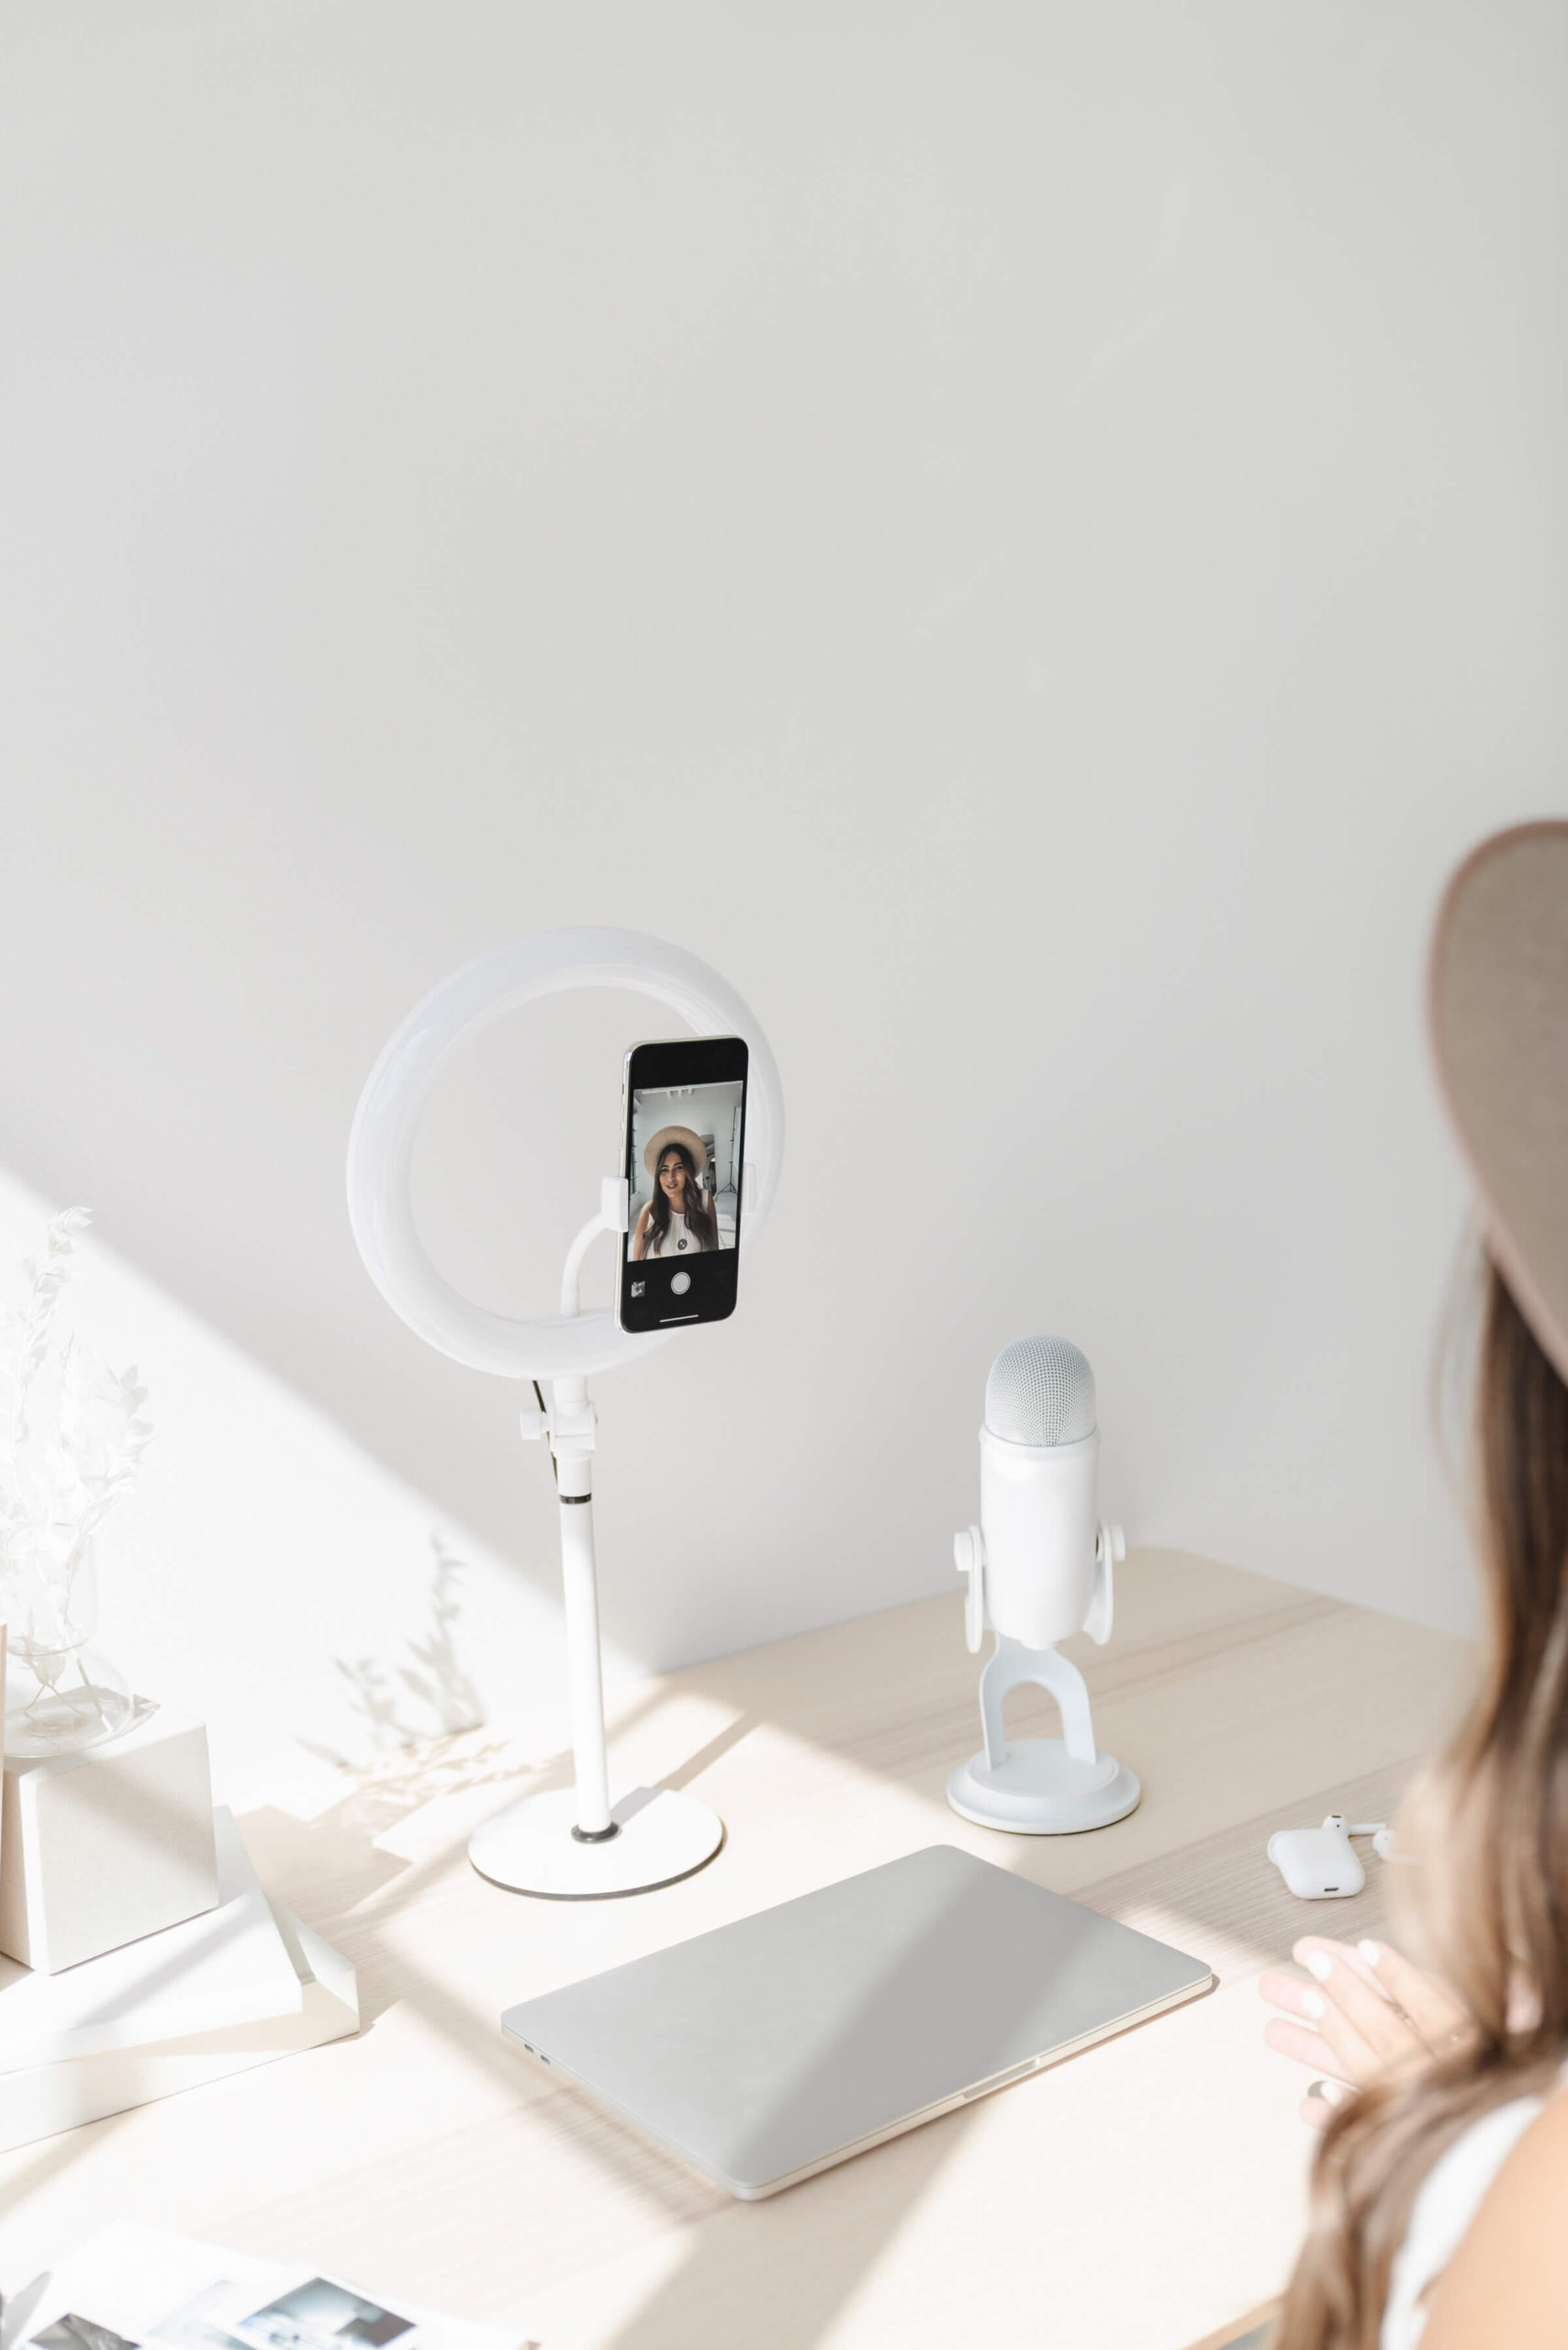
One that you’ll almost certainly have seen other podcasters using is the Blue Yeti USB microphone. It’s compact, compatible with Macs and PCs and does a pretty good job at recording decent audio quality – and, bonus points, it’s under $150.
If you’ve got a heftier budget and want top-end audio quality without breaking the bank still, Rode do a range of podcasting microphones that have some pretty sweet features and look pretty fancy too. You can get a Rode microphone and accessories for around $250, so still not a huge investment.
The other option, for particularly tight budgets, is to invest in an on-the-go microphone that plugs into your iPhone. Convenient and easy to use, yes. Great audio quality? Well, they’re not going to give you quite the same level as the Yeti or Rode would, but it’ll be much better than using your iPhone alone. Something like this one would do the trick, for less than $50.
Grab yourself a pair of good quality headphones
When it comes to editing your podcast episodes, the less background interference the better. So we’d always recommend investing a little (or a lot) in a pair of over-ear headphones to block out background noise and make the whole editing process as simple as possible.
There’s no end to the amount of money you could spend on headphones for your podcast editing, but, again, you don’t need to. What you’d ideally want is for your headphones to have active noise cancelling (ANC), meaning that not only do the headphones themselves physically block out as much background noise as possible, but they also actively block noise by listening to the ambient noise around you and using ‘phase inversion’ to create ‘anti-noise’ – it sounds complicated, but basically ANC adds another layer of protection against background noise, making your podcast editing even smoother.
Over-ear headphones with ANC can range wildly in cost. At the top end, you could invest in Sony wireless headphones with ANC and set yourself back $350. Or, you could go with a pair of Anker Soundcore headphones for $50. There are plenty of headphones out there that’ll do the job, so consider your budget, make sure you’re choosing ANC if possible, and check out reviews before you invest.
Sort out your software
The final piece of the logistics puzzle is sorting out your software. Google anything about ‘podcasting software’ and you will be bombarded with businesses claiming to make the best piece of podcasting software ever known to man – so how do you know which to choose?
You’ve found this blog post, so you’re in safe hands.
Podcasting editing and recording software
The editing software we always recommend for podcast beginners is either Garage Band (for Mac users) or Audacity (for Windows or Chromebook users). Both are free, both are easy to use and understand, and both will let you edit your podcast audio files easily.
If you’re recording podcast episodes with a guest, we’d recommend using Squadcast so you can record high quality audio for both sides of the conversation. Using Zoom is an option, but if you have a less-than-amazing internet connection, the quality can suffer.
Choose a podcast host
Choosing a podcast host is like picking between internet service providers: there are a lot out there, and they mostly say the same things. Podcast hosting can get technical real quick, but one of the simplest and user friendly platforms (and the one that we recommend to our clients) is Buzzsprout.
Hitting record: getting your show ready for launch
Now that you’ve sorted your strategy, ordered your tech and nailed your software, it’s finally time to do some recording, right?!
Almost, but not quite. Sorry.
Before you jump right in at the deep end and hit that red button, there are a couple of final things to consider so that your podcast sounds as professional as humanly possible. Then, you’ll be set to record and edit and launch in no time!
Show music
First things first: your podcast doesn’t need show music. But, having that little jingle that becomes a recognisable part of your show can be really useful. If you do choose to have show music, there are a few places you can browse to find a tune that works for you.
Epidemic Sound has a huge library of royalty-free music you can use on your podcast. You’ll need to subscribe to access the good stuff – a business subscription will set you back around $50/month.
Soundstripe again have a pretty decent range of podcast music. Subscription-based again, but will only set you back around $19/month, so is a cheaper option.
If you don’t want to spend a penny, Podcast.co have begun creating their own free-to-use, zero-royalties, no-attribution-needed podcast tracks. There are only a few to choose from currently, but there might be something there that’s perfect for you – and completely free!
One thing to bear in mind is that any free or royalty-free music has a pretty good chance of being featured on someone else’s podcast too. While that’s not the end of the world, if you’re serious about building a recognisable, powerful brand around your podcast, it might be worth considering investing in custom intro and outro music – a quick Google for ‘custom podcast music’ gets you a range of businesses that offer custom podcast tracks, or you can find a freelancer on Upwork or Fiverr to create something for you.
Whatever you do, make sure you’re choosing tracks that you’re legally allowed to use in your podcast. If you’re podcasting for your business, double-check that ‘royalty-free’ tracks include commercial use and if you’re creating custom tracks make sure that your contractual agreement allows for commercial use – otherwise you could be breaking licensing agreements!
Record & mix your outro and intro
Every strategically-thought-through podcast has a catchy opening hook and a memorable outro with a clear call to action. So next up, before you dive into recording your first episode, is scripting, recording and editing your intro and outro.
The intro should be short(ish) and definitely not more than 60-seconds – ideally, cut it down to 30-seconds or less so your listeners actually listen, rather than skipping straight to the good stuff. Make sure you’re sharing what to expect from your show, who you are, and how you’re going to help your listeners.
The outro, again, should be short and sweet. Captivate.fm recommend anything from 30-seconds to 3 minutes – but we’d suggest keeping it closer to 30-seconds! Your listeners are more likely to skip your outro the longer it is, so if you can say all you need to say in 30-seconds, don’t pad it out longer than necessary. Your outro should cover what your listeners should do next (e.g. download your free guide), where they can connect with you to continue the conversation (e.g. your social channels) and make sure to thank them for listening too!
Before you launch your podcast, you should script, record and edit the intro and outro and save them as standalone files, so that you can add these in to the start and end of each podcast episode. You can always change your intro and outro later on, but having them pre-recorded before you launch will make the editing process much simpler.
Record your trailer
Your trailer is one of the most important parts of launching your podcast, because it gives people a taster of what to expect from your show. It’s an insight into how high quality your podcast will be, what people are going to hear about from you, and how passionate, knowledgeable and enthusiastic you are about talking with your audience.
A good podcast trailer can be repurposed across your social media, your website and wherever else you want to promote your show – so it’s worth taking some time to plan, record and edit this so it’s as good as it physically can be.
When you’re just starting out with your podcast, your trailer needs to do three things:
- Introduce your show and you: what’s your show called? Who are you? Why are you excited to be starting your podcast?
- Make your listeners want more: the point of any trailer is to build interest, so add in an element of enticement into your trailer. Pose a question, share a few topics you’ll be discussing, or name-drop a couple of guests.
- Encourage listeners to take action: your trailer needs a clear CTA. This could be to subscribe to hear about the latest episodes, to follow you on social media or to click on a link in your show notes to go to your website or download a freebie.
Your trailer can change over time, so once your podcast is up-and-running it might be a good idea to update your trailer to include some soundbites from guests or your favourite episodes so that people have a real taster of what your show is like.
If you’re feeling brave, adding video to your trailer (particularly for sharing on social media and other marketing channels) can be hugely effective!
Script your first few episodes
Even if you’re the most experienced public speaker in the world and you can blag your way through any conversation, it’s always worth scripting out at least the first few podcast episodes of your new show – just so you can find your feet and iron out any stumbling blocks you might come across.
Sitting on your own in front of a podcast mic can feel odd to begin with – so having the episode scripted can help to keep you on track and reduce the chance of you going completely off-piste from a mixture of nerves and excitement.
Depending on the nature of your podcast (whether you have guests, whether you’re co-hosting with someone else, whether you’re talking about current events or using more in-depth narrative, etc.), you might feel like your script can just be bullet points, or you might prefer to script your first couple of episodes word for word.
If you are scripting word for word, make sure you’re keeping loose and engaged when you record, otherwise you run the risk of people clearly knowing that you’re reading – and losing their attention pronto!
If you’re using bullet points, try to be as specific as you can without restricting yourself too much.
Whichever method you choose, your script should cover:
- An episode-specific introduction (which can either be cut in before or after your show intro)
- Clear topics signposted throughout, so that your audience knows where your episode is headed
- An episode-specific call to action at the end – this could be a relevant freebie, suggesting your audience follow this episode’s guest on social media, or an invitation to join the conversation over on your social media accounts
Before you hit record, do a trial read-through of your script so that you can identify any parts that don’t flow properly or that aren’t needed – then it’s time to record!
HIT THE RECORD BUTTON!
FINALLY, we made it to the recording. After all the preparation work you’ve done, this should be a fairly simple part of the process – but there’s a few insider tips we want to share:
- Make sure the people around you know you’re recording a podcast, because there is literally nothing worse than being interrupted when you’re mid-flow!
- Find a quiet space that has a good amount of soft furnishings in it to avoid echoes and tinniness in your audio. If it still sounds a little echoey, you can always record with a blanket over your head to soften the ambient sound.
- If you mess up a sentence, go back to the start of that sentence instead of trying to pick it up mid-sentence. This will make your editing job much easier, trust us!
- Keep a glass of water nearby to keep your vocal cords loose.
- Be conscious of your breath, so you’re not breathing heavily into your microphone between sentences. Again, you’ll thank yourself when it comes to editing!
- Check the recommended setup for your podcast mic. Some microphones (especially those that come with stands or pop filters) work best at particular angles, so make sure that your mouth is positioned in the best position for your specific microphone.
- Try to keep your voice at a steady volume throughout the episode.
- If you’re recording with a guest, mute yourself when you’re not speaking. This helps to keep the audio as clean as possible and prevents you from speaking over them if you’re feeling enthusiastic about something!
- Record a separate audio channel for each person in your podcast, so that you can cut and edit super easily.
Go into your first recording session with low expectations. There will almost certainly be niggles you need to resolve, unexpected things popping up, and crackly audio somewhere in your recording. Taking your first recording as a test session will relieve the pressure and give you the mental space to take things nice and slowly so you can make the real recording the best thing in the world!
Editing your first few podcast episodes
If you’re recording solo episodes, editing your podcast should be fairly simple. Especially if you’ve scripted your episode, the editing process should be a case of cutting out the pauses, polishing the transition from section to section, and adding in the intro and outro. Simple, right?
With any piece of software, there’s a learning curve – so make sure you’ve planned in enough time to get to grips with whatever software you’ve chosen, without the pressure of needing to hit publish instantly.
Mostly, your editing process is likely to follow these steps:
- Import your audio recording(s) and your intro and outro files into your editing software
- Listen to the whole episode, start to finish, noting timestamps of sections you know need cutting
- Use your software’s noise reduction tool to remove background noise and crackles
- Chop out the sections you don’t want or need
- Move everything into the right order
- Listen through from start to finish and fix any last bits
- Adjust the volume to be consistent throughout
- Export the finished product!
Obviously, if you don’t have the time or inclination to edit your own podcast episodes, there are people (hint: US!) who can edit your podcast for you…
Marketing your podcast
You’ve done the prep, you’ve recorded, you’ve edited and now you’ve got 3 or 4 shiny audio files ready to publish. HURRAY!
The hard part is done, BUT you’re not quite done yet. Sorry.
The final-final part of the process is sorting out your marketing materials. Because, let’s face it, you want people to listen to your podcast, right? And to get people to listen, you need to tell them about it, right? And to tell them about it, you need to plan, write, schedule, create, design etc, right?!
This last piece of the podcast-puzzle should be pretty straightforward, especially if you’re already a pro at marketing your business. So let’s get this over the line and ready to launch!
Your podcast collateral checklist
Here are the key things you need to create or design or write to go alongside your podcast:
- Design your show artwork (can be as simple as a Canva graphic, or you can invest in a designer to make something bespoke for you).
- Design templates (with your podcast branding) for your social media channels, including static posts, video posts, Story posts or whatever other formats you use with your audience.
- Design, write and publish a page on your website dedicated to your podcast. This should include links to your show on Apple Podcasts and Spotify as well as a description of what your show is about (bonus points if you make this SEO-friendly!). This page can grow into a new blog/resources category on your site as you publish more episodes, by writing up a mini blog post for each episode you record.
- Design graphics for your email newsletter (if you have one).
Map your podcast launch timeline
Working backwards from the date you want your podcast to launch, map out what needs to get done when – including uploading and scheduling your recorded episodes on your hosting platform. It’s up to you how much of a lead-up you want from announcement to launch, but you’ll ideally want enough time to drum up interest but not so much time that people get bored of hearing about your podcast before there are any episodes to actually listen to!
Whatever length launch window you decide on, plan in the following elements for your launch:
- Announce that you’re starting a podcast by sharing the trailer on your social media
- Share the show trailer with your email list
- Pull out short audio snippets from your first couple of episodes as teasers – use a tool like Kapwing to create audiograms and then share to your social media channels
- Publish your podcast page on your website, and include an email subscription box so that you can let subscribers know when your show launches
- Consider putting together a podcast launch giveaway to entice people to subscribe to your new podcast!
The cardinal rule of launching anything, podcasts included, is to repeat yourself more than you think! You might feel like you sound like a broken record when you mention your podcast every day in the run up to launch, but remember that the majority of your audience (on whichever platform you’re using) won’t see everything you share – so even though you’ve said it 10 times, they might’ve only seen it 5 of those times.
Go LIVE!!!
You’ve made it!
It’s prepped, it’s marketed, it’s DONE. So now you can hit publish and get those first episodes out into the world.
And you’re done.
Except, not really. Because you’ve launched a podcast, which means you need to nurture that podcast to be the best it possibly can be! But for now, take a pause and celebrate that you’ve started your podcast, launched it successfully and it’s ready to help your business reach its next level.
")